Using Linked Clones in VMware Workstation.
Few weeks back I had a surprise. As you know, there has been a new release of VMware Workstation 7.1 which brought in new feature and also new release of VMware tools was available. So the update of all your VMs created by the previous release of Workstation was a must. I have done the upgrade in my home lab by uninstalling the previous version and then installing the latest release of VMware Workstation 7.1. But that's not what I want to point out.
I was having a little lab environment with VMs using linked clones. I mostly using this scenario for home lab testing and it does not really matters if I loose data or not in this environment. Linked clones is a a scenario to use for SSD drives with the great speed the SSD disk drive can deliver, but remains expensive. By using linked cloned disks from within VMware Workstation you saves a lot of disk space. And since the space on SSD is expensive, linked clones are the solution, but must be used by knowing what happens if… 😈
How to create Linked clones ?
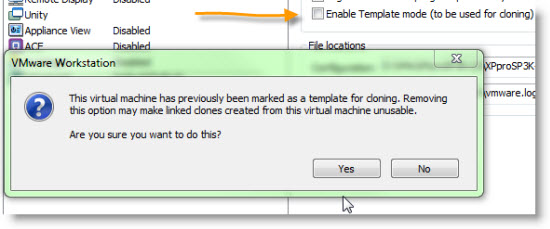
To create linked clones and by using the template mode available in Workstation 7 (not in VMware player) you guarantee by selecting the check box in menu VM > Settings > TAB Options > Advanced, that the MASTER disk remains without any changes and becomes READ only.
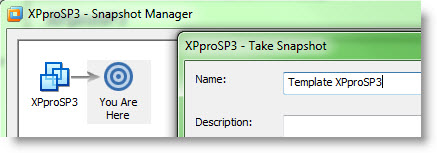
Then you take a snapshot which you can name something like “Template XPSP3”
Then you can make your Linked clone of that VM. To do so, you go through the menu VM > Clone.
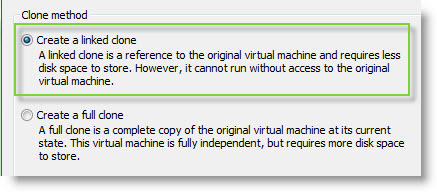
Choose the snapshot you took in the step 2 > Choose Linked clone
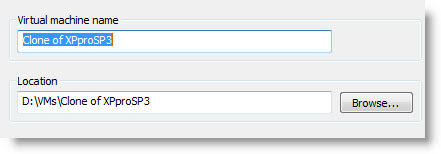
Then just choose where you want to store the files of the cloned VM. In my exemple I have a folder on my D drive called VMs.
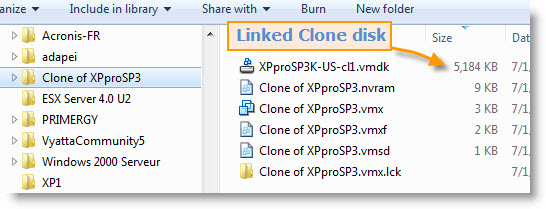
What will happens is that a DELTA file is created which is much smaller than the original disk and the linked clone VM is accessing and using the MASTER file to be able to function. You can't change it any more…..
Since now ALL the changes you do to that linked clone VM like installing a new application, changing desktop shortcuts.. whatever…. is written to the DELTA file.
And as you can see, the delta file is much smaller than the original…
Note that little addition to the VMDK file XPproSP3K-US–cl1.vmdk which means that it's a delta disk.
One last think to point out is that in the main interface of VMware Workstation, you'll be able to see different icons for Full VM and different icons for Linked Cloned VMs. Also, while I'm thinking. You should not move your 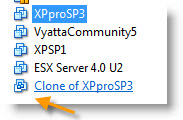 MASTER VM elsewhere, since your linked clones will be a bit lost while searching for the master VM…. 😉 . But it's not a drama, because you can modify the path when the clone is starting.
During my upgrade process a my home lab what happened. I wanted to test what happens when I modify my master VM Image. I did not care to loose a data so I went and unchecked the box – updated VMware tools in that snapshot and I took another snapshot. Then I deleted the first snapshot where the old version of VMware tools were installed…..and checked the box for the Template Mode for the new snapshot. Of course my clones did not worked any more. The cloned VMs could not find the MASTER VM which was changed….
I don't know If there is any way to get this back after you upgrade that master image. I guess not because I deleted it.
I wanted to share my experience on that. Think twice before using linked clones and if you do, make sure you backup your MASTER VM before..
If you're not one of my regular readers, then if you want to stay updated, you can subscribe for FREE via RSS. If you don't know how it works, just see my What is RSS page…
You can check the latest promos on Workstation of Fusion in our PROMO section or COUPONS section (apparently the vm10dsktp7 coupon for VMware Workstation 7.1 still works).

