Setting up the Amazon S3 storage
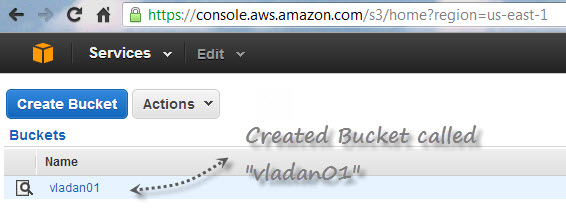
To use the Amazon S3 cloud storage you'll need to create what they call Bucket from your dashboard at Amazon. This is very straightforward. When on your dashboard, click the button to Create a Bucket.

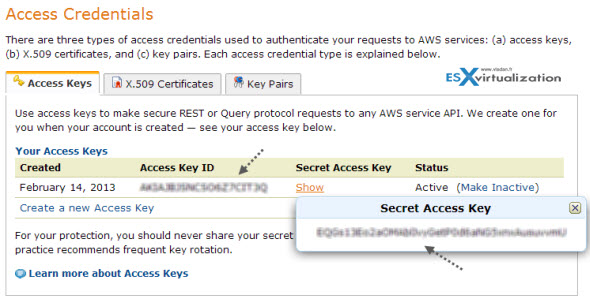
In addition, you'll also need Access Key ID and Secret Access Key. Those elements are also accessible online, while at Amazon. Here is the screenshot, which elements are necessary.

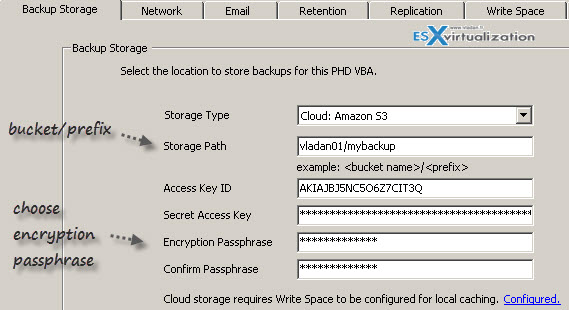
When those elements are located, open the Backup Storage Tab while you're still at the configuration. . Especially the <bucket name>/<prefix> . For the prefix you can pick anything. The prefix is a string that is added to each file written to the cloud storage location. This helps with identifying and filtering files when viewing the storage repository.
In fact, it's fairly simple. Just see the screenshot bellow.

The encryption passphrase makes the backups being encrypted at the storage location.
The destination for my backups is set up correctly and I'm ready to start some backups!
At first look you might think that there are a lot of things to do… but in reality it only takes 5-10 min to gather all the necessary elements and setup the backup appliance.
 My lab setup is simple as I'm using single ESXi 5.1 host managed by vCenter server and for the sake of simplicity I took a very small VM called TinyXP which size about 2Gb.
But for larger environments, with several ESXi hosts, the setup does not differ and all virtual appliances in your environment are managed through single console on Windows management station. In my case I'm using my laptop with Windows 7 where I installed VMware vSphere Windows client and the PHD Virtual client software.
PHD Virtual Backup 6.2 – creating backup job
When creating your first backup job, you have the ability to choose from two options:
- Virtual Full – this one is the one recommended for backing up to cloud storage
- Full/Incremental – Recommended for network storage, target-side deduplication devices.
I will use the Virtual Full option for cloud backups. In my lab I run small XP VM called TinyXP which is only about 2 Gb of size. This is because I wanted to be absolutely sure that I can finish the job in reasonable time period. I setup the job, hit the run button and thought that overnight it will finish. What a surprise it was when in just 46 minutes the job finished! PHD enabled me to run a backup to the cloud much faster than I ever expected!
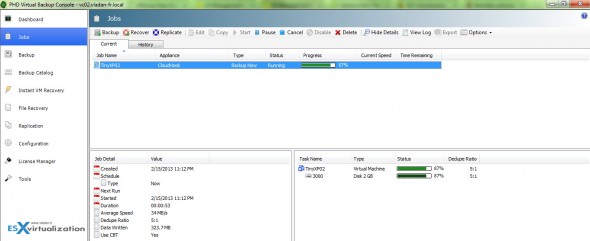
The details from the job running are below.
On the job details you can see the 5:1 deduplication ratio and the average speed. While the first full backup took some time, I was still nicely surprised by the speed of the full backup. The following incremental backups took just minutes. I've done several backups like that, every time adding some files and programs to the VM.
Continue reading on next page –>

