Installation of VMware View Composer 2.7 in vCenter Server. The composer 2.7 which is bundled with VMware View 5, is simple executable file. The installation must be done on VMware vCenter Server which will “drive” the VMware View 5 environment. It does not matter if vCenter is running on physical system or in Virtual Machine, the Composer must run on vCenter.
The VMware Composer service is responsible for the Linked clones operations. The composer component acts as a windows service and it's exactly the Composer which does all the “magic” behind when it comes to automate the pool creation, liked clones etc…. Linked Clones are the read/write snapshots of a “master or parent” VM. (an XP or Win 7 system). Now this is part of the prerequisites, to run the composer on the vCenter server.
The linked clones feature saves disk space. View composer enables rapid desktop deployment as well since the cloning operations are faster.
View Composer can utilises Quickprep or Sysprep. Those are a system automation tools which create an additional OS instances in Microsoft Active Directory.
Recompose Operation – is initiated by admin and the role of Recompose Operation is to initiate changes to all linked clones by running a recompose operation. All the changes done previously to the master image VM (upgrade with patches, Service packs, applications…..) are applied to all linked clones by the recompose operation.
Refresh Operation – This is only a synchro which synchronises the master image with all linked clones. It's used in case when users are experiencing issues with their linked clone. This way, the default settings are set back.
Each user in a linked clone can have their own persistent data disk which will contain all of their unique user data, documents and settings.
What have we done so far was the Installation of VMware View Connection Server as a standalone server in Win 2008R2 VM, we also created a Database for VMware View together with ODBC configuration. You can also read the Overview where I explain which components you'll need in your lab to do this setup, the most easiest way – VMware View 5 Install, configure – How to do a simple lab setup.
View Composer Setup in vCenter VM – by installing the composer in vCenter we're almost done with the “server” part of our VDI installation.
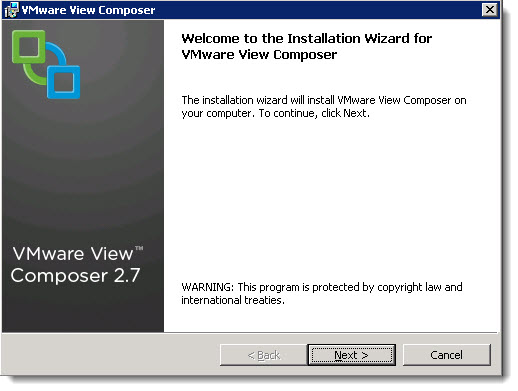
The assistant guides you through the setup. Nothing fancy here…
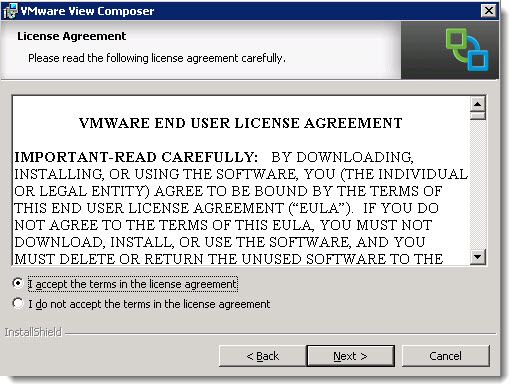
Accepting the license agreement and choosing the default folder for the installation. Is there any troubles here?
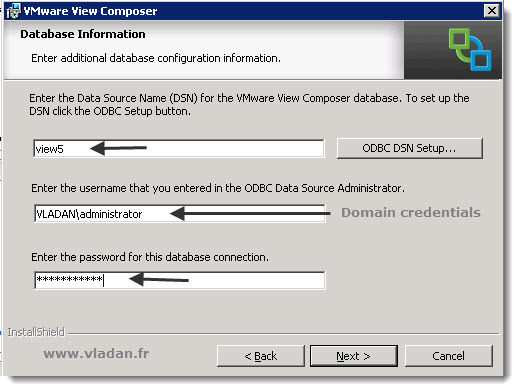
Maybe here, with the credentials. I chose the default domain admin credentials here.
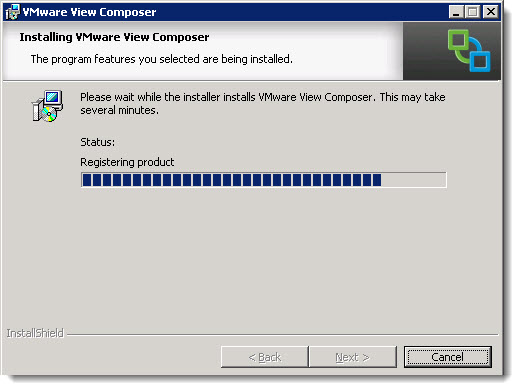
Installation continues with this
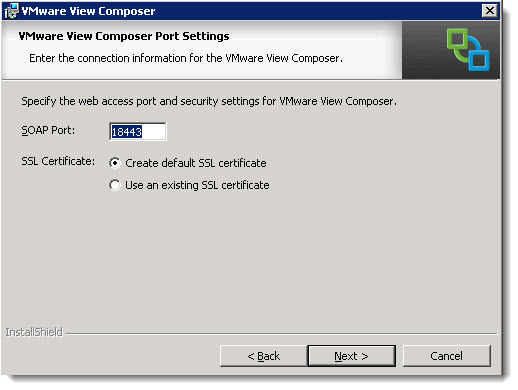
And the default SOAP port ….. left as is…
And that's all folks as concerning the View Composer component which we just installed on our vCenter Server VM.
So far you could already follow some of the articles in this series.
The full serie – VMware View 5 Install, configure – How-to in my lab :
- VMware View 5 Install, configure – How to do a simple lab setup
- How to install Database and ODBC for VMware View
- How-to install VMware View Connection Server
- How-to install VMware View Composer – this post
- How to install VMware View Agent in the Virtual Desktop plus more
- How to create desktop pool in VMware View
- The first connection to a desktop pool
- VMware View – Virtual machine with Input Specification already exists error
- How to Optmize the Master Desktop Image for VMware View
- VMware View Video for SMB
- How-to configure VMware View Persona Management
- How-to remove linked clones reference from composer database video
- VMware Horizon View Connection Server SSL Certificate How-to


