VMware Photon is a new project started this year within VMware, which shall allow faster deployment of containerized applications from developer's desktops (Workstation, Fusion) to the production environment (vSphere). It is a minimalist Linux distribution allowing to install container runtime environment which is able to run those “containerized apps”, those apps that are pre-packaged and pre-configured to run in containers. If you're familiar with some Linux distros, the Photon OS uses a yum-compatible package manager.
The Photon OS is fully Compatible with Docker, rkt, and the Pivotal Garden and the system is very efficient where the system requirements are pretty ridiculous: ESXi with 2Gb of RAM and 2Gb of hard drive space. Photon OS also takes some very short time to install. According to the user manual, The “Full” install will take approximately 30-90 seconds to complete, where a minimal will take only 9-12 seconds and a micro as little as 7 seconds.
This guide shows the installation process for VMware vSphere. You can use vSphere 5.5 or 6.x. Note that you can also deploy Photon OS on VMware Workstation or VMware Fusion. (check the links below the post).
Now let's jump to the lab and take this Photon stuff for a spin -:) Note that there are 3 different ISOs of Photon OS (actually 2 ISOs and 1 OVA):
- Photon OS – Full ISO, 917 Mb in size
- Photon OS – Minimal ISO, 211 Mb in size
- Photon OS – OVA file (to deploy directly through vSphere client) 128 Mb in size!
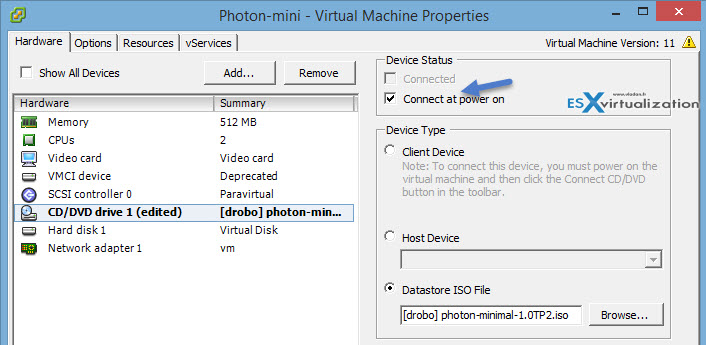
Connect the Photon ISO on the CD/DVD Drive and click Connect At Power On

How to Install Photon VM in VMware vSphere – The Steps:
I could you technically show how to install the Photon OS from OVA, but you would only see File > Deploy OVF template > Finish -:). That's why I at least show the “ISO-way” to do things. Note that after deploying the OVA, you can always Add more memory, CPU or disk as needed…
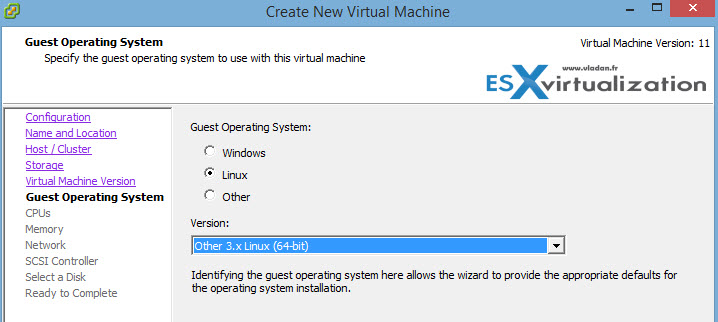
01. Download the latest ISO and create a new VM under vSphere Client, vSphere Web client (if you have vCenter server) OR through ESXi Host client! Choose “Other Linux 3.x (64 bits). Choose 1 or 2 vCPU to get started and some memory. To start with, VMware recommends 2 vCPU, 384MB memory, 20GB hard disk.
02. Edit the VM settings and connect the Photon ISO on the CD/DVD Drive and click Connect At Power On. Note that I'm saying that because by default the checkbox is unchecked and many folks (including me) got caught in the past on that. But that's just in case -:).
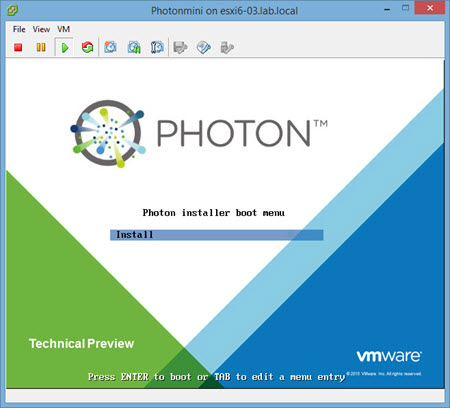
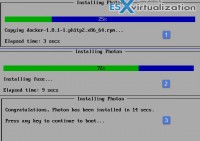
03. Start the VM and follow the assistant, hit the Enter key to start the install.
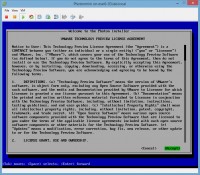
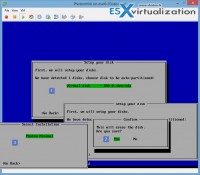
04. Accept the agreement > Partition the Disk > Select the type of install (Full, minimalistic or custom). Note that I only downloaded the minimalist ISO so the only option there is the “minimal”… So far so good…
05. Choose and confirm root password > Attach your seat belt > Done ! 14 seconds in my lab…
What's next?
It depends on. In all case, you'll need to log in with your root password first and then obtain an IP address of your Photon OS Linux VM!
ifconfig
is the command that helps to do that!
Then I just followed a guide from Photon OS documentation to download a Nginx web server….. but there are tons of other apps which can be “pulled”.

So in my case, I got an IP like this:
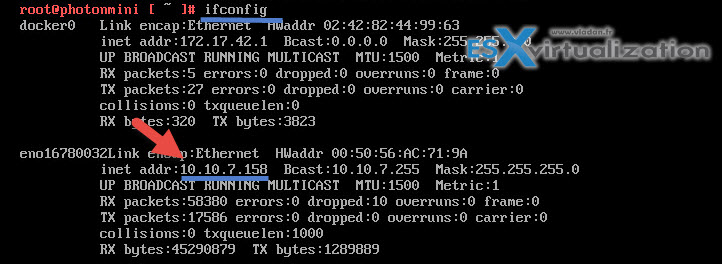
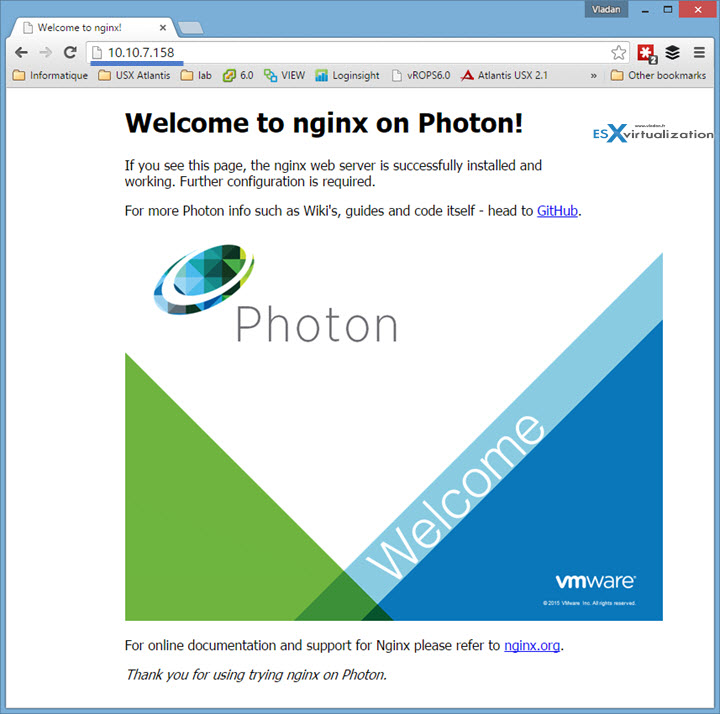
Ans so the web page via https://10.10.7.158 got me this image of the nginx web server page …
And here is my Documentation video -:)….
Photon OS is a base brick or New VMware VCSA 6.5 – a vCenter platform. If you want to learn more, check some of the following resources:
- How to Migrate Windows Based vCenter to VCSA 6.5 [Lab] – Windows to Linux
- VMware VCSA 6.5 Active-Passive Setup with Simple Configuration – [LAB]
- VMware vCSA 6.5 HA Failover Test – Video
- vSphere 6.5 – All How-to articles, Videos, tutorials….
- VMware VSAN 6.5 – What's New?
Stay tuned through RSS, and social media channels (Twitter, FB, YouTube)



Hello,
thanks for this article. i’m new to docker and was looking for a way to start with a real environment which is only different in the way of the allocated resources. Your article was a great way to start.
So maybe you can help me with a question and point me into the right direction:
Where do i save the docker data?
From my understanding i should have at least two separated “file systems” or storages.
One where the docker images are saved (which could be within the photon os) and one (i guess nfs, iscsi, whatever) where the delta/the configs, changed data etc. is written to.
so that I am able to do backups or do updates from images without losing data.
What is the recommended way to do this in photon ?
Maybe i overread it because english isn’t my first language…
I would be glad if you can help me with that.
Hi Stephan,
Unfortunately I’m not much specialized in containers. As such I won’t be able to help. Thanks for reading my blog -:)