CoreOS is a lightweight Linux distro destined for running Containers. Docker is installed on each CoreOS machine. You should construct a container for each of your services (web server, caching, database) start them with a fleet and connect them together by reading and writing to etcd. CoreOS doesn't ship a package manager — any software you would like to use must run within a container. Today's post will guide you How-To Install and Configure CoreOS on ESXi.
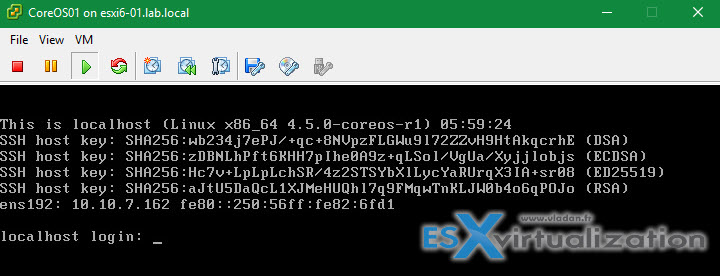
You can easily deploy 3 CoreOS VMs and setup a small containers environment. CoreOS gives you three essential tools: service discovery, container management, and process management. CoreOS is not the only “lightweight” Linux distro. I reference few others on my Free Tools page or in this post too – Top Three Lightweight Linux VMs for VMware vSphere Lab environment . You have few options: ISO, OVA… In this post, we will explore the OVA option.
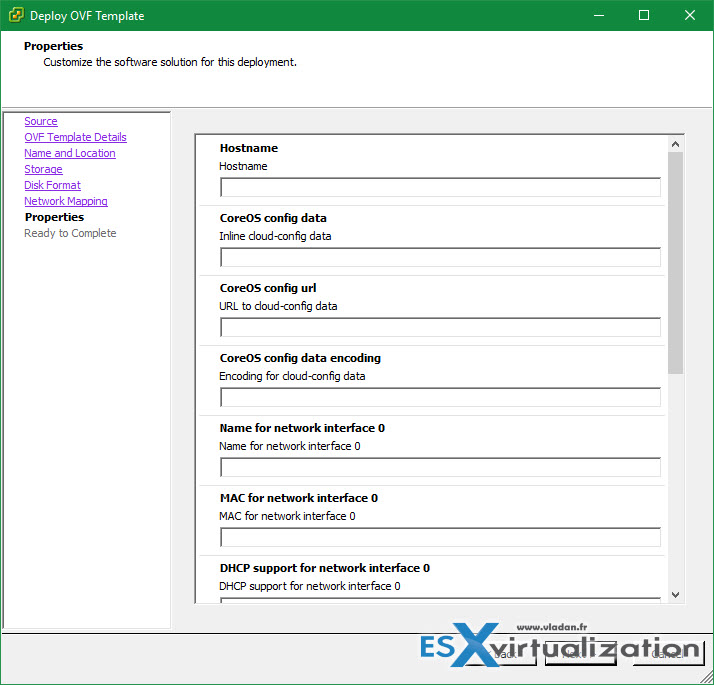
Step 1: go to the CoreOS download section and look for coreos_production_vmware_ova.ova > Open vSphere C# client while it's still there > File > Deploy OVF Template > Browse > Locate the file you just downloaded.
(I left all fill-in forms blank….. DHCP)
as you can see on the image below
Step 2: Configure Auto log in for the CoreOS virtual machine
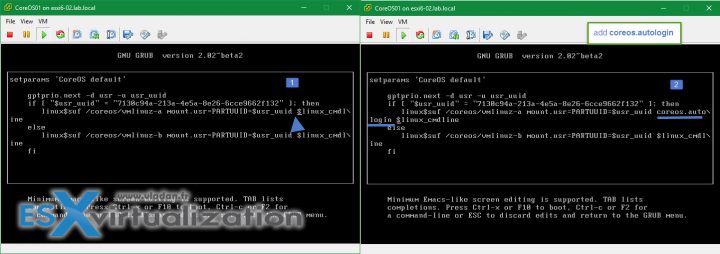
Power On the VM and hit e key to edit GRUB Menu > Add coreos.autologin as boot parameter and press Ctrl-x or F10 to boot. This will make the console skip the log in prompt and enter straight to shell for the user core.
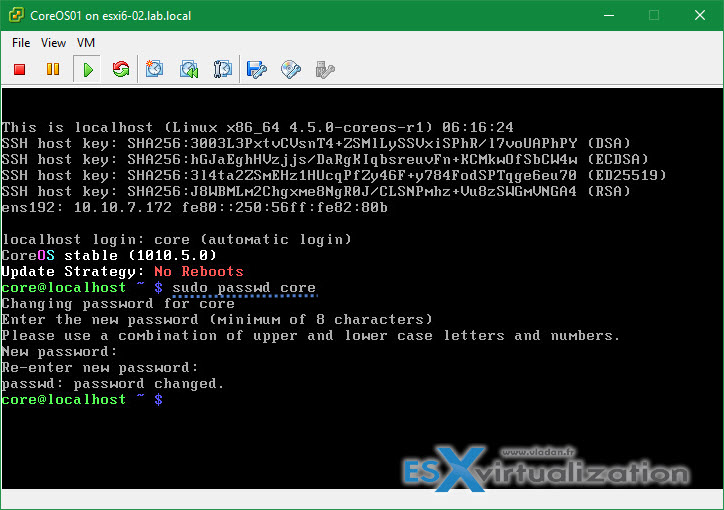
Step 3: Change the password for core user (or for root user too)…
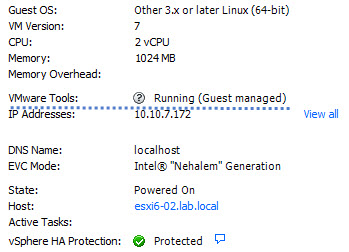
Open VM tools (OVT) are supported and are part of the OVF so you don't have to struggle to install VMware tools inside of the VM…….
To go further and sources I used for this post:
- CoreOS quick start page.
- Downloads of CoreOS
- VMware KB

