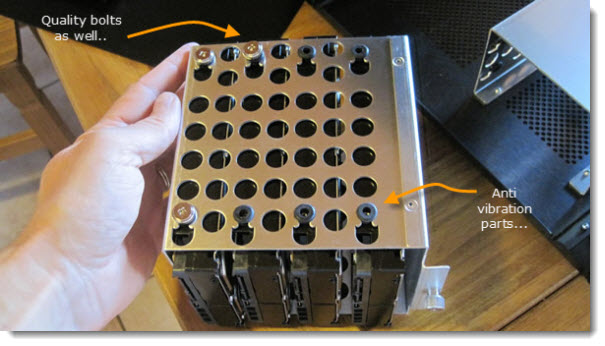
The SATA drives are mounted into (how can I call that..) four hard drives bay area, with anti-vibration protection, which is quite nice. All the surface and the internal parts of the Mini box are from Aluminum and they are very good quality and I don't regret to pay that money for that box.
The 1 Tb SATA drives from SEAGATE are consumer drives, not enterprise. But they spin at 7200 rpm …
After the drives with the enclosure mounted in I connected the Promise SATA PCI card and connected all the drives on all the ports on the Promise card. In the user manual there is an order which port is a port 1, port 2 etc…. which I respected, since if any of your drives goes down and needs a replacement, you'll certainly find it handy to know which drive is connected to which port on the Promise card. But anyway I'll be backing up to an external 2 Tb USB drive anyway, so that's why also I took only 1 Tb SATA drives even if I could go for drives with larger capacity.
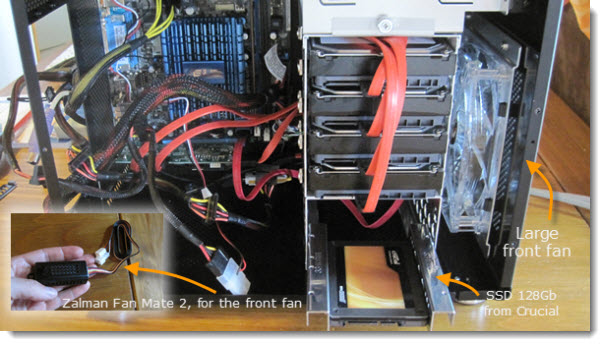
The next step was to connect both fans, the front and the top fan. I bought also a small part They're both quality fans without making noise. (Actually I'm writing this article and I'm sitting about one meter from the box and I'm hearing just a background noise which is not disturbing…)
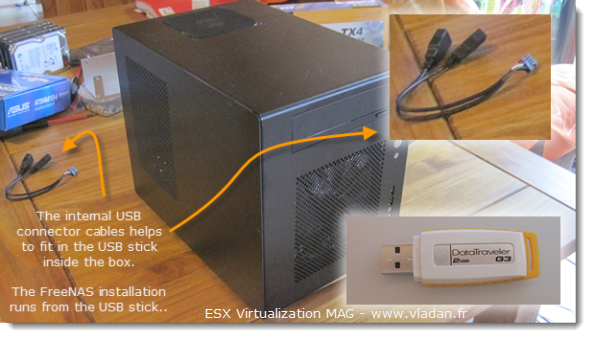
When everything mounted in, I placed the last piece, the PSU from Antec. This standard block takes all the place in front of the motherboard and as I said in the beginning of the article make sure you plug everything right before you mount in the PSU. Afterwards I just leaved myself one SATA cable with one power connection so I was able to plug-in a SATA DVD/CD drive to install the Freenas. As you can see on the picture below the box is a bit bigger than a commercial NAS boxes since there is the place for the DVD at the top. But you can fit in 6 drives if you want to… -:).
The Serie:
- How to build a low cost NAS for VMware Lab – introduction
- How to build low cost shared storage for vSphere lab – assembling the parts – this post
- VMware Home Lab: building NAS at home to keep the costs down – installing FreeNAS
- Performance tests with FreeNAS 7.2 in my homelab
- Installation Openfiler 2.99 and configuring NFS share
- Installing FreeNAS 8 and taking it for a spin
- My homelab – The Network design with Cisco SG 300 – a Layer 3 switch for €199.
- Video of my VMware vSphere HomeLAB
- How to configure FreeNAS 8 for iSCSI and connect to ESX(i)
- Haswell ESXi Whitebox


Your NAS rocks mate!
Looking forward your IOmeter tests 🙂
BTW you should really consider Nexenta (free edition) to take advantage of your SSD disk for caching…
Rgds,
Didier
Just out of curiosity – did you considered using OpenSolaris or NexentaStor with ZFS…? this systems can take advantage of your SSD as log/caching device…
Also, AFAIK, FreeNAS supports ZFS too.
Tomasz,
thx for the info. That’s probbably has to be tested too…. -:)
Thanks for this setup. you gave an idea on how i will setup my nas