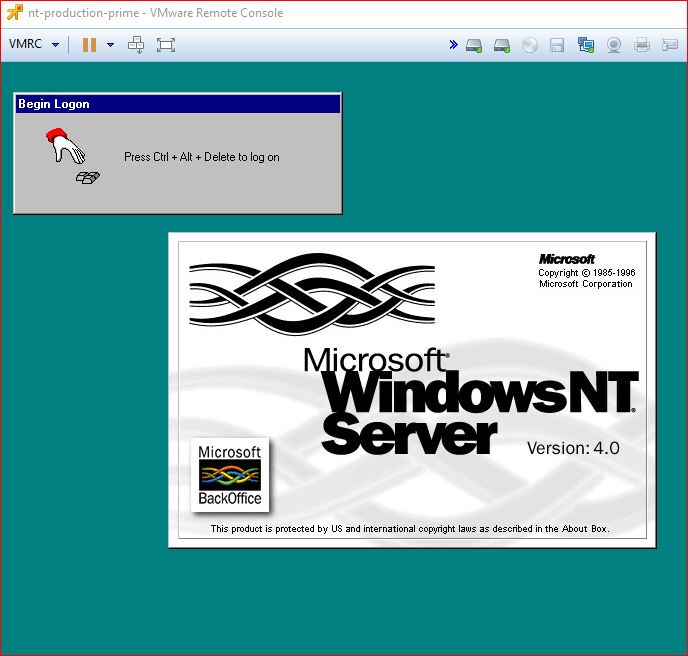
This post is a follow-up guest post by Richard Robbins who recently did an interesting task – Convert NT4 physical to VM on ESXi 6.0. He contacted me onTwitter asking which would be the good direction to take and then few tweets later he came up with a working solution in his environment.
Here is is experience:
- Part 1: Convert NT4 physical to VM on ESXi 6.0
- Part 2: This post
As promised, here’s a follow up note regarding the NT server P2V project that I started.
 Vladan asked why I was working on this conversion, which is a really good question. Why on earth would someone want to migrate an antiquated system to a current virtual operating environment? The short answer is that one of my friends has a client running a business and that client insists on maintaining the old system and my friend needs to keep that system running. For a more complete description see http://www.itinker.net/2016/02/redeploying-old-system-as-virtual.html
So far I have described what it took to get a stable test version of NT running on ESXi 6. The goal for that phase was to put a fresh copy of NT 4 on a system that mirrored the production system and then convert it into a virtual machine. Now I will describe what it took to get the production system running.

The OVA Template
Before moving on from the test system I wanted to ensure I had a backup. I had read that some people had encountered difficulties with snapshots of NT-era disks and for that reason was leery of relying solely on snapshots. When I took a snapshot I ran into some of those errors rendering the system useless.
I experimented with Veeam, but since it uses the snapshot mechanism I ran into some of the very same problems.
I decided to create an OVA template of the working base system using the vSphere Web Client. Creating the template and deploying a fresh copy of the system from the template worked without difficulty. After deploying from the OVA template I noticed that snapshots and Veeam both seemed to work well. I haven’t tested this too much but the initial results are encouraging.

Initial Configuration of the Production System
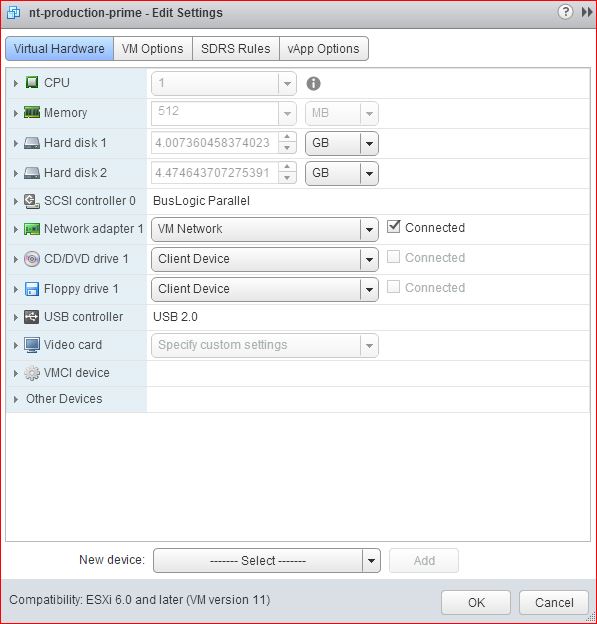
I had been assured that the hardware and OS configuration of the test system mirrored the production system, with the exception that the production system had a pair of hard drives where our test system had a single hard drive. I was prepared to take vmdk files given to me, assign one as IDE 0 and the second as IDE 1 and hoped that the rest of the conversion would be identical to the test system.
I took the vmdk files and prepared a new ESXi test system. It failed to boot.
I discovered along the way that the physical system ran from a single SCSI disk with a pair of partitions. I tried all manner of SCSI configuration alternatives for the VM. None worked.
I was told that the vmdk files had been created using version 3 of the VMware Converter. I assumed that the converter had been run to create an ESX infrastructure VM as opposed to a VM intended for use in Workstation, and that as in the test case, that conversion had failed but that I had good disk image files to work with. I learned later that this time the converter was run to create a VMware Workstation system and, significantly, that the conversion had run successfully to completion.
I was pleased to discover that the system booted in VMware Workstation Version 12. I was able to use Workstation to convert the system into a bootable ESXi virtual machine.
VMware Tools and Networking
I assumed that the VMware tool installation would be as with the test system. Again, I was wrong. This time, the installer did not leave behind the network adapter driver for manual installation. Sadly, the virtual CD driver did not work either.
Without VM network connectivity, physical or virtual CD connectivity, or any other means of getting drivers onto the system, I feared that I’d need to have the necessary files placed on the physical system and then have that system rescanned. Before heading down that path I tried reconfiguring the virtual system by adding the IDE disk from the test system as a means to get the files I needed. That worked. The system rebooted and in addition to the two SCSI drives from the production system I had the working drive from the test system which had the requisite drivers.
At that point I was able to configure the virtual network adapter, which worked just as in the test system.
Multiprocessor Kernel (Or Not)
The production system, like the test system, has a pair of CPUs. I assumed I would encounter the same stability and CPU utilization issues with it as I had in the test system. The production system seemed more stable though. Something was different. It turned out that even though I had been told that the operating environment for the test and production systems was the same, it was not. The production system was not running the multiprocessor kernel so I didn’t need to make the changes to switch back to a single processor kernel as I had with the test system.
Clean Up Activity
I created an OVA template of the production system and confirmed that I could deploy it and run a stable system. Happily, there were no surprises.
I delivered the template to my friend who who deployed it in his VMware environment. After putting in the proper network settings the entire production system sprang to life and appears to be running better than ever.
