This is a small tutorial for people willing to protect their Laptop/desktop with a Veeam Free Agent for Microsoft Windows. The latest release of Veeam Agent for Windows is available as a Chocolatey package. Thanks to Maurice Kevenaar for the latest info. Maurice is a fellow Veeam Vanguard from Holland. He is working as a System Engineer and is very involved with Chocolatey.
Veeam Agent Free edition has only small limitations, like that you cannot have central management or that the paid version has a file indexing feature in the server version that allows you to do 1-click file-level restore through enterprise manager. (Note you can still restore individual files, but manually search for it).
However, the free edition can still be used for an SQL running, it will still be VSS that is used to make the database ready for backup. You'll have to walk through the job creation wizard manually too on each computer.
The free version backups can be saved to a VBR repository, but management itself remotely (such as configuration for example) is not possible with the free version. Anyway, you can still get a Free Trial of Veeam Backup and Replication which has the agent in it, and try the full-blown version of Veeam.
Install Chocolatey and Install Veeam Agent – The steps:
The Chocolatey way of deploying the agent on individual computers with internet access is easy.
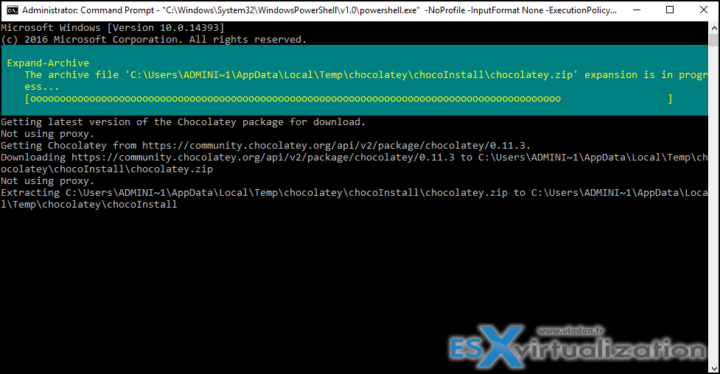
- Make sure that Chocolatey is installed on the machine you're at:
Option 1: Install with cmd.exe
Run the following command:
@”%SystemRoot%\System32\WindowsPowerShell\v1.0\powershell.exe” -NoProfile -InputFormat None -ExecutionPolicy Bypass -Command “[System.Net.ServicePointManager]::SecurityProtocol = 3072; iex ((New-Object System.Net.WebClient).DownloadString(‘https://community.chocolatey.org/install.ps1'))” && SET “PATH=%PATH%;%ALLUSERSPROFILE%\chocolatey\bin”
Option 2: Install with PowerShell.exe
With PowerShell, you must make sure that Get-ExecutionPolicy is not Restricted.
Set-ExecutionPolicy Bypass -Scope Process -Force; [System.Net.ServicePointManager]::SecurityProtocol = [System.Net.ServicePointManager]::SecurityProtocol -bor 3072; iex ((New-Object System.Net.WebClient).DownloadString(‘https://community.chocolatey.org/install.ps1'))
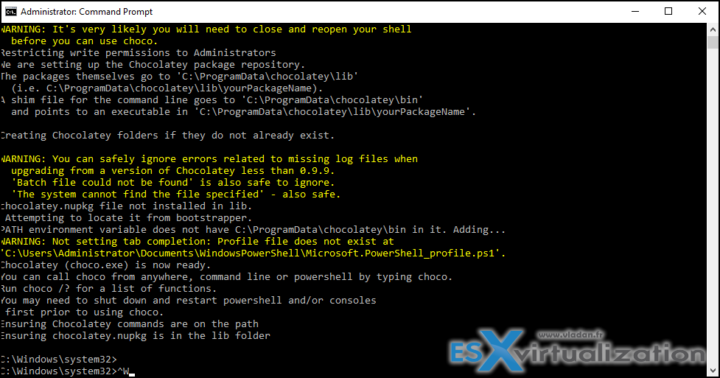
You should then close the command window and reopen it.
Now run the following command to install Veeam Agent for Windows:
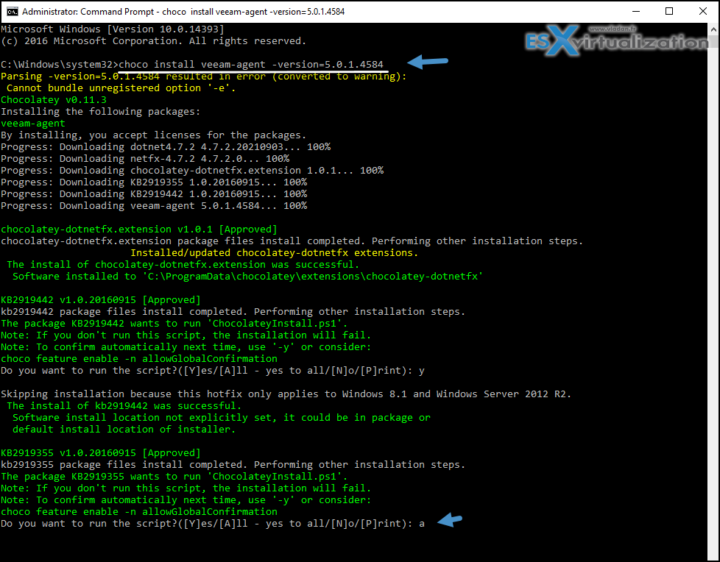
choco install veeam-agent –version=5.0.1.4584
The system installs all necessary dependencies before starting to download the individual modules. You then should accept all “a” to let the system execute the different modules one after another.
Then you'll see the other installation steps performed, such as downloading other modules from Microsoft's visual studio etc…
and then some pop-up windows that indicate the progress…
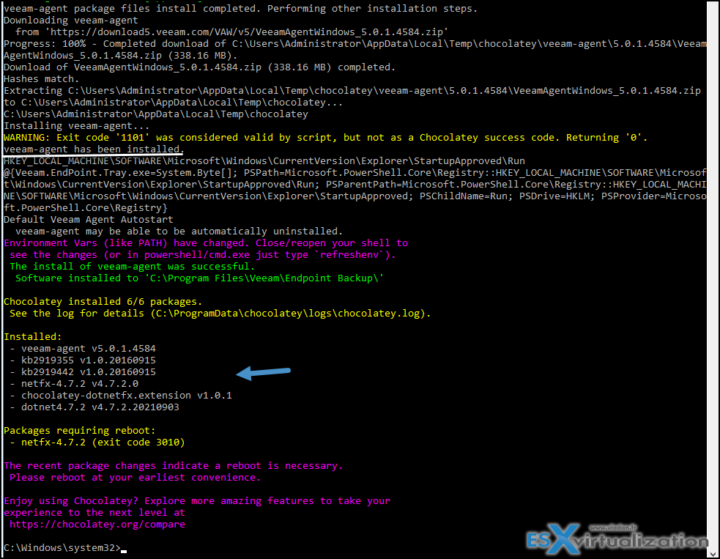
You should see a window like this that indicates which modules were installed and that the system needs a reboot.
Done, just reboot.
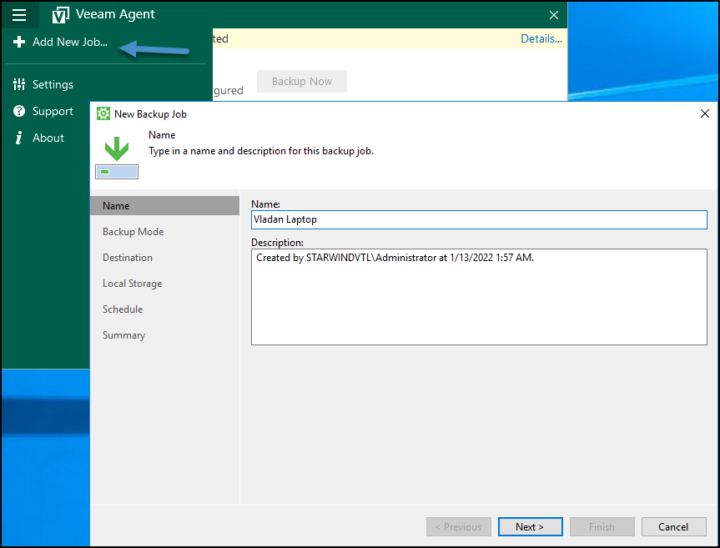
All you have to do then is to create a new job and choose where you want to store the backups. If you're new to Veeam Agent for Windows, the backups are image-level backups which means that for example, you save your system partition (or your system disk) as a file. It will be a big file weighing a few gigs depending on how many programs and data your system disk has.
You should store this image file somewhere else (not on the same PC/laptop). You could use a fast SSD external drive. It's a very common strategy that works well in case your laptop fails or get corrupted by ransomware.
Important
It's crucial to create a USB recovery that allows you to boot your corrupted system and launch Veeam restore from backup.
Final Words
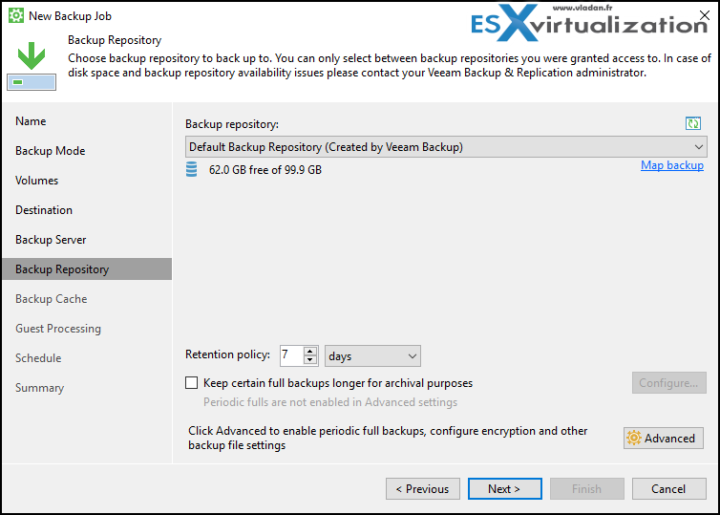
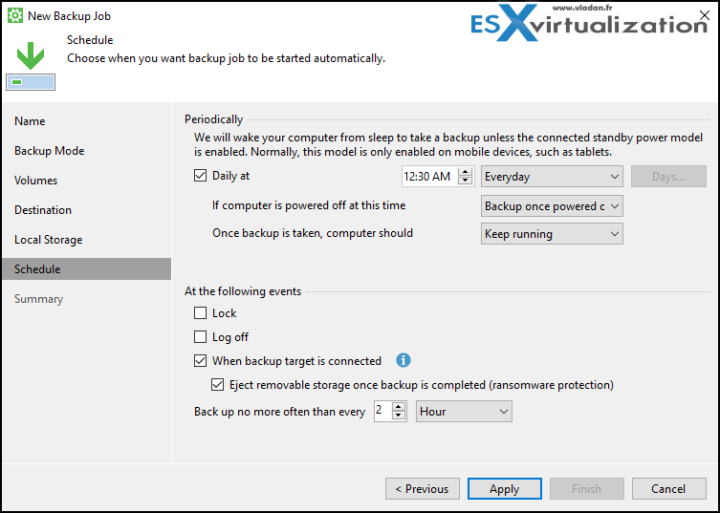
The Chocolatey allows you to deploy Veeam Agent for Windows onto individual computers. After installation, you'll have to create a USB recovery for each one of those and then create a New backup job (as on the screenshot above) by selecting a Volume Level Backup (preferable) and as a destination, you pick another drive or Veeam repository on your Veeam backup server. The scheduler allows you to set a daily schedule for the backups.
If you happen to select a local drive as a backup target, you can specify to create backup when the backup target is connected (by connecting your USB drive) and check the “Eject the removable storage once backup is completed (ransomware protection).
Links:
- Veeam Windows Agent Chocolatey page
- Veeam Backup and Replication 11a Trial (ISO with latest patches slipstreamed).
More about Veeam on ESX Virtualization Blog
- Veeam 321 backup rule becomes 3-2-1-1-0 Backup Rule – Check it out!
- Veeam Backup and Replication 11a Release (New ISO)
- How to Install and Configure Veeam Backup and Replication Community Edition
- Veeam Backup and Replication 11 Announced Today
- Veeam Backup and Replication v11 upcoming details and features
- Fight Ransomware with Veeam 10 Immutability Feature

