HPE (Trilead) 6.1 went out recently with updated web-based UI. I reported on it in my detailed post here. Today we'll do some basic tasks which every admin has to do – configure backups. The product has changed over the past few years quite significantly so I think that it's about time to have a closer look. Let's have a look how HPE/Trilead VM Explorer – Backup your first VM.
The web-based UI is convenient to work with as it's fast and responsive. You can connect via a web browser from anywhere, and from any platform (Windows, Linux, Mac…). No software to install. After connecting to the UI you need to add your vCenter or individual ESXi host. If you're running some Hyper-V boxes, then you do the same.
The Add Server wizard brings up quite a lot of options… In my case, you can already see in the background on the left that I have added my vCenter, which has 2-3 ESXi running.
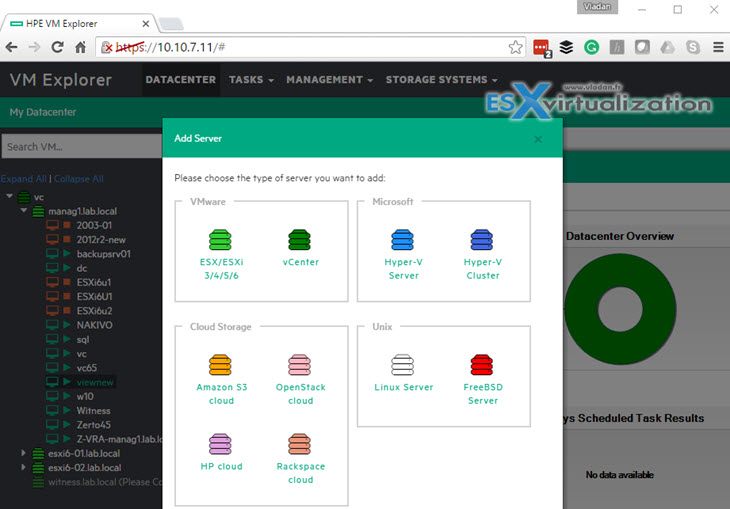
Now if you want to start backup your VMs you have several choices to do so. But first, you might be interested in setup a backup repository first. VM Explorer allows backups to be sent to:
- Local Computer (where VM Explorer is installed). The default is C:\
- Another ESXi host – you choose a datastore which is visible to this particular host.
- Network drive – network drives (used as a backup target) must be configured within VM Explorer in order to let VM Explorer® service mount them automatically.
We'll have a look at the third option – Network drive as In my opinion it's the best way to separate the backups from a production environment. It's never good to have backups stored on production datastores where your VM lives.
How to setup a Network drive as Backup target?
Go to Admin > Settings
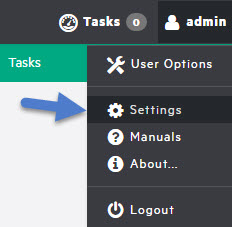
Then Network Drives. Click the Add Button and Add a network location….

And you'll open a nice assistant which will walk you through the process….
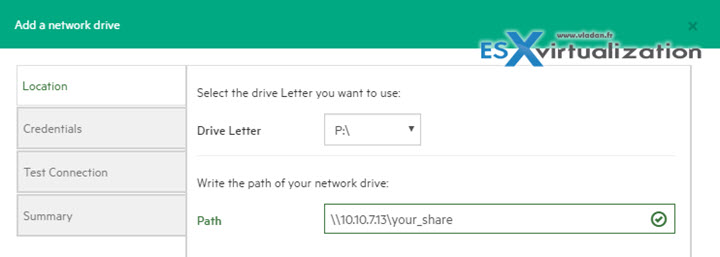
From there we can setup our first backup. There is few options how to do that. Quite intuitive.
Option 1 – Backup a single VM
You may or you may not know that you can right-click VM to get some options. You can simply right-click a VM in the list and select Create New Backup Schedule. If you don't want to schedule the backup you can also just select Backup and the software will backup this particular VM without offering to schedule the job.
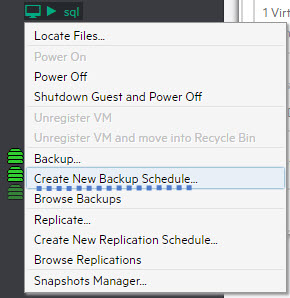
Option 2 – Backup a single VM from the front page.
From the Welcome screen… Like this… So far, no surprises….
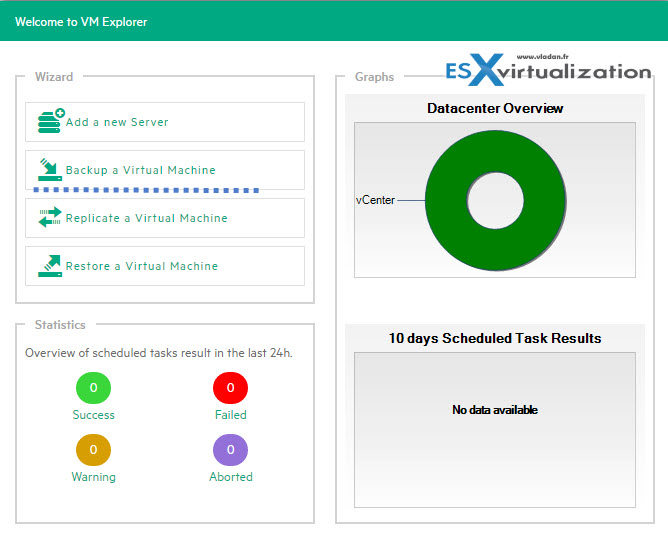
Where the option 1 will pre-select the VM you right-clicked, the Option 2 will leave you to select your host (or vcenter) and select a VM (2 selection clicks more). But at the end, you'll end up with this screen allowing you to chose the backup target.
Backup target is a location where the backup files will be stored. As being said above, a network drive is a good option for storing backups. Let's have a look at how it's done and what are the other backup target options.
By default, you have this…. You must click the Chose parent in order to select a backup destination (target).

The screen looks like this… You can browse the drives and create new folders…
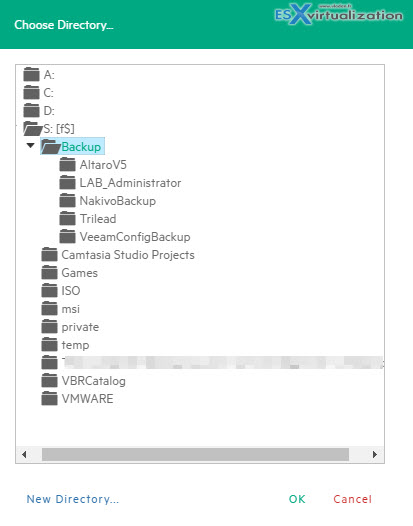
Yes, pretty intuitive. You can get quite organized.
The Backup options
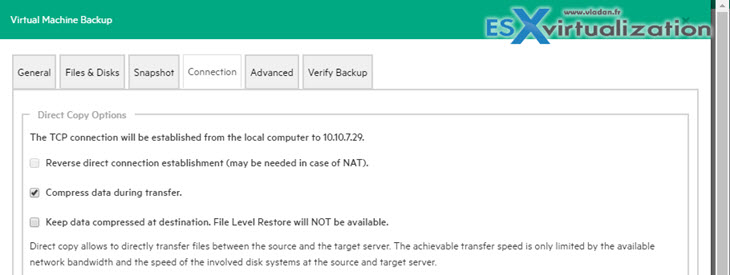
- Backup compression – this is the Connection Tab. It allows to compress data during transfer.
- Instant Backup Test – this allows to start the VM from the backup location > wait some time > take a screenshot if the VM, which will be then available in current/daily tasks reports.

Wrap-up
Backup of “live” VM. Not a big deal you might say. But with many products on the market the selection of which one to pick up for your virtual infrastructure is not easy.
VM Explorer is quite intuitive even if I'm looking for a multi-VM backup option for example. In reality, I haven't found it. This is not because I don't like to have my backup jobs organized on a per-VM level, but have the option there and select it (or not) by myself. Without multi-VM backup, the product still can operate and perhaps it's the way that it should be as it contributes to having smaller backup files and have your jobs nicely organized. But again. Each organization might need different backup options and not including this might be a stop selection for some folks.
Other Posts you might want to check:
- HPE VM Explorer 6.3 now compatible with vSphere 6.5
- Trilead 6.1 With New Web UI
- What’s new in Trilead VM Explorer 6.0?
- HPE/Trilead VM Explorer – Backup your first VM – [This Post]
- HPE VM Explorer with StoreOnce – Get 1TB of Deduplicated Storage for Free
- VM Explorer 6.1 Released
- Web Based Interface Only for HPE VM Explorer 6.2
Stay tuned through RSS, and social media channels (Twitter, FB, YouTube)

Hello,
if you generate a backup task you can add multi vm backup to the task elements. So it is not needed to add a backup jop for each vm.